[ Main Gallery ][ Desktop Gallery ][ Trailer Gallery ][ Characters ][ Story ][ Media ][ Poem ]
Kaji's
Mononoke Hime Main Picture Gallery
Page One
[email protected]
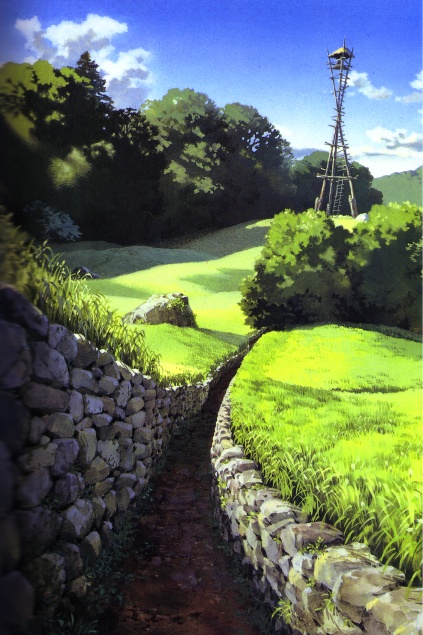
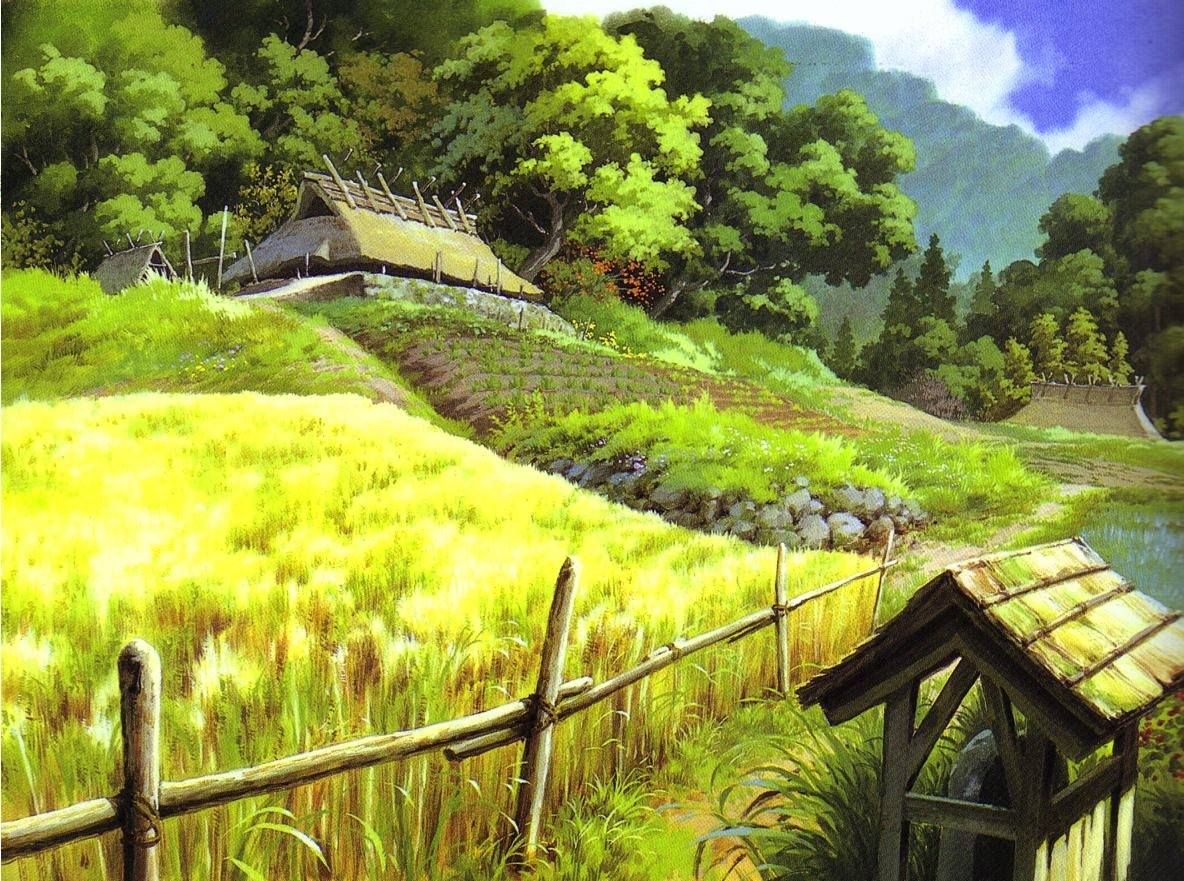
| Mononoke.jpg | A picture of the guard tower seen in the beginning of the film. |
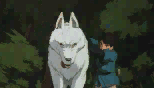
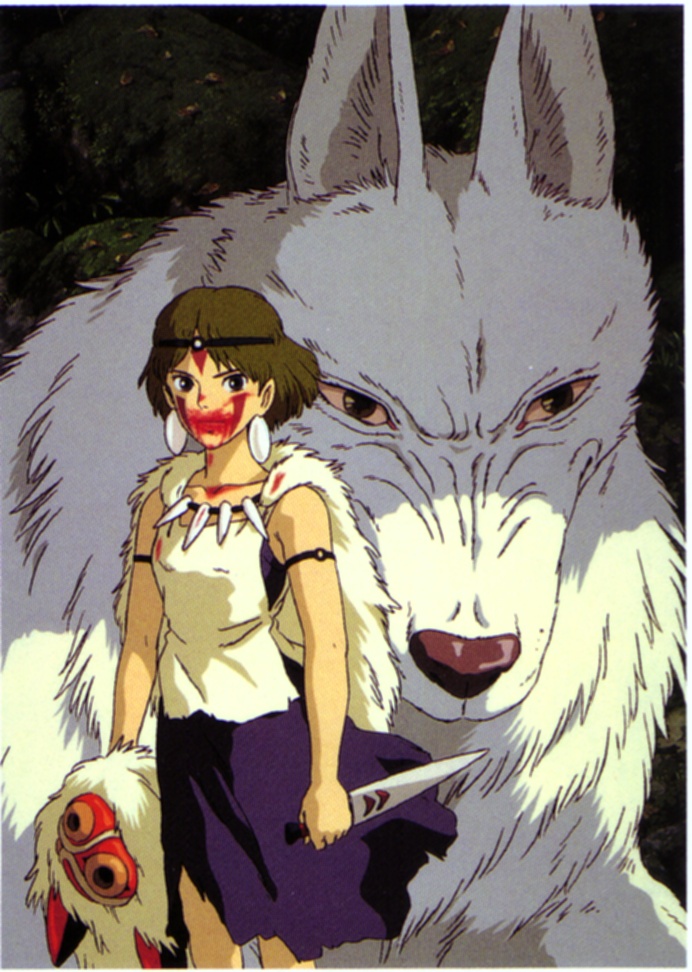
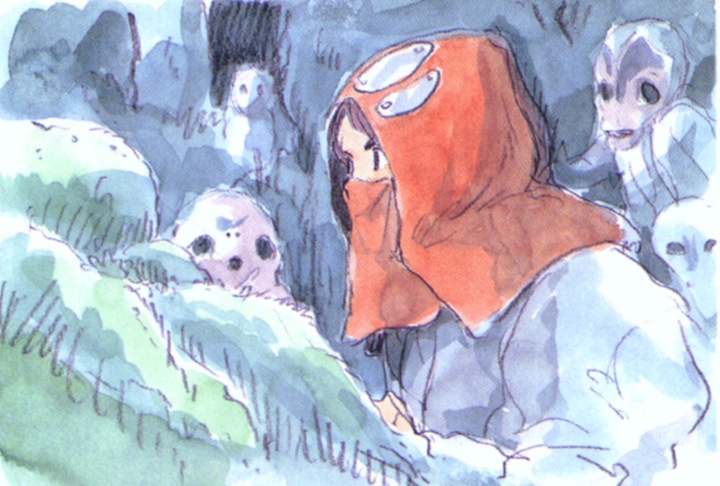
| Mononoke00.jpg | San with a bloody face and Moro no Kimi in the background. |
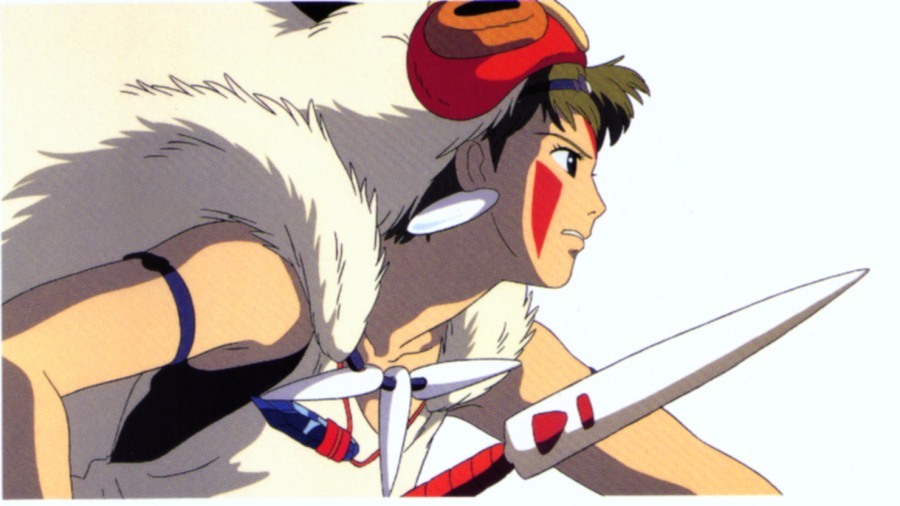
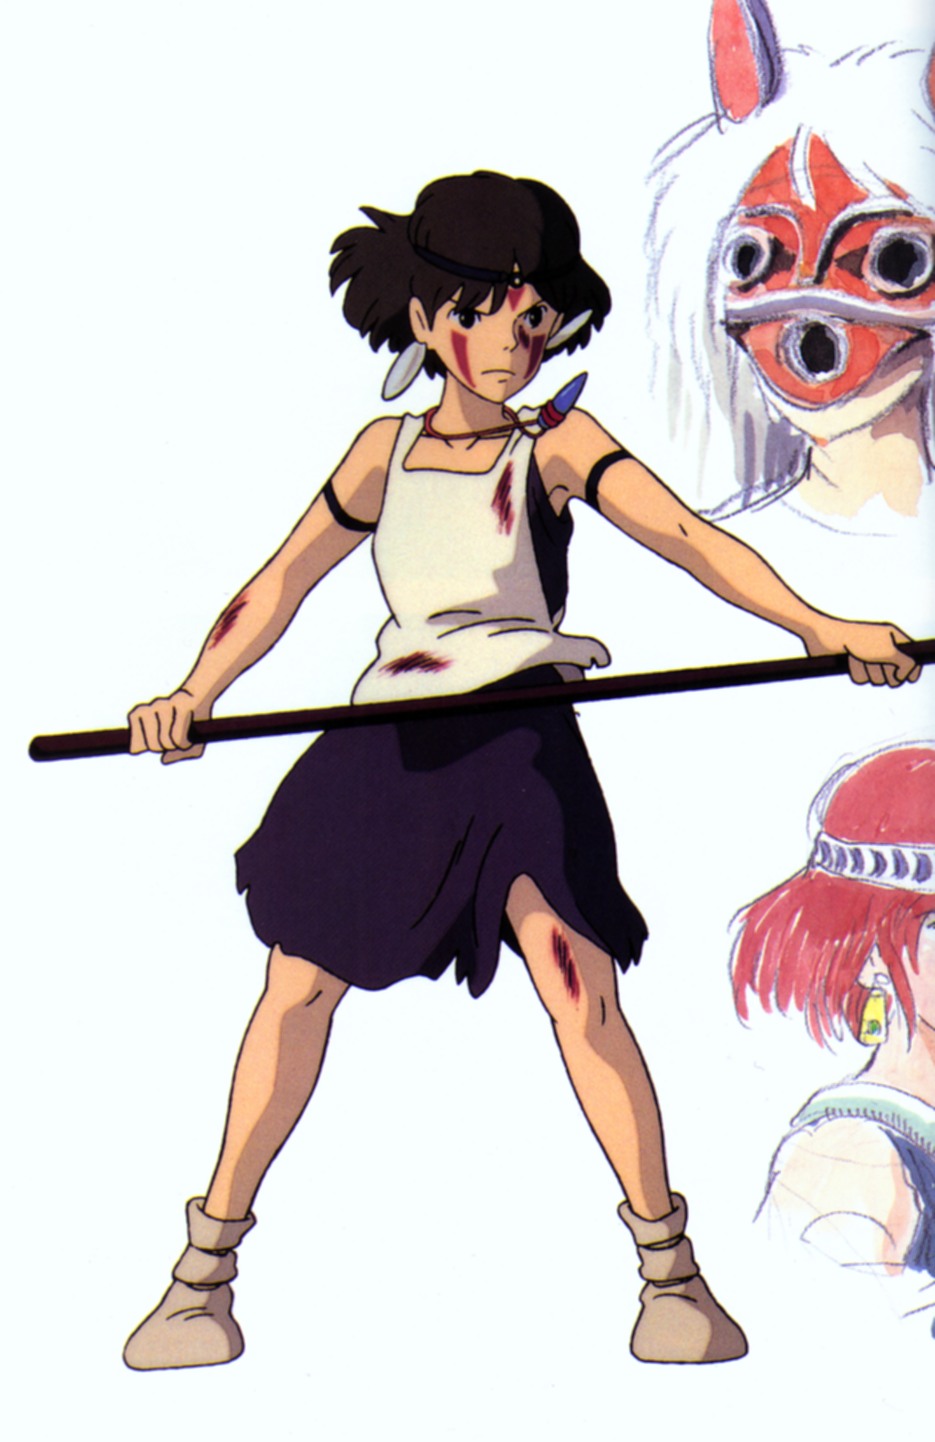
| Mononoke01.jpg | Close-up of San with her mask and spear-in-hand. |
| Mononoke02.jpg | Illustration of Ashitaka after shooting down Nago no Kami. |
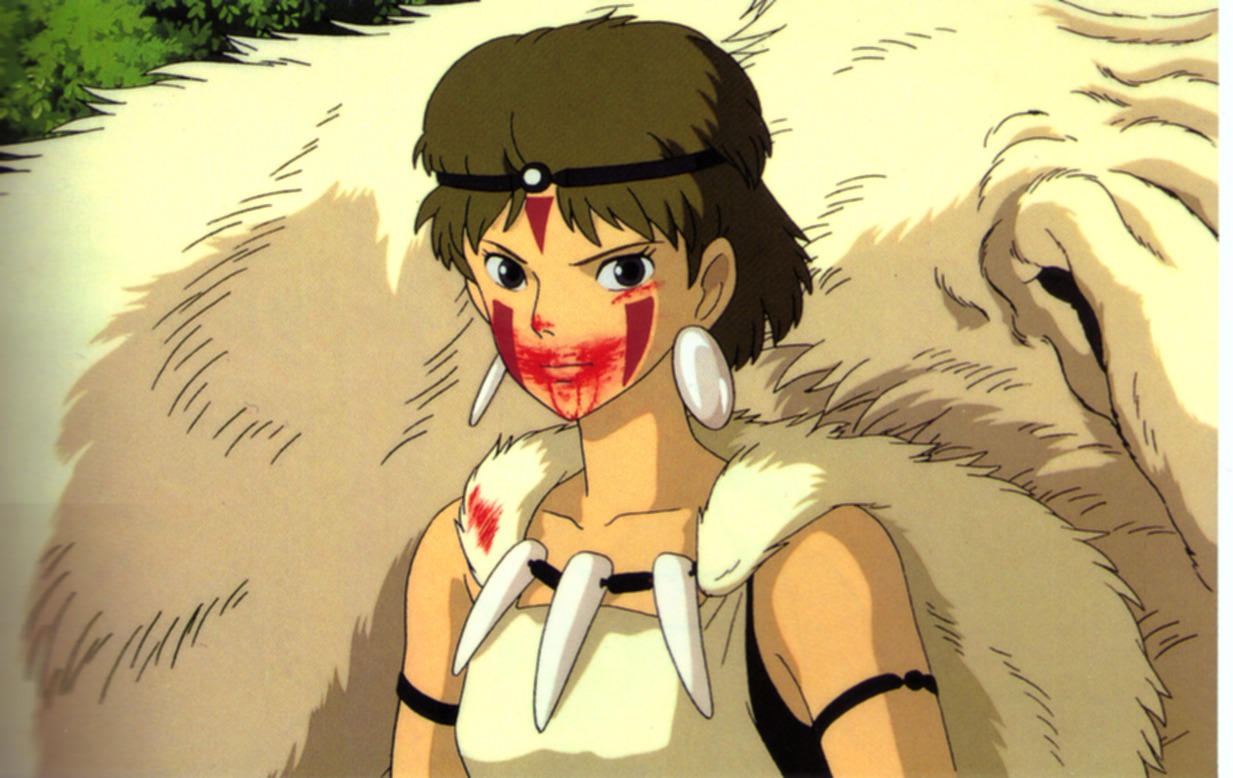
| Mononoke03.jpg | Close-up of San with her bloody face. |
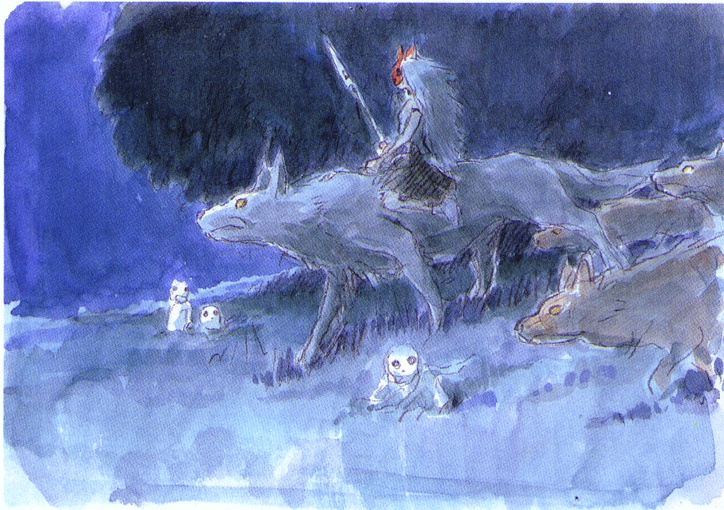
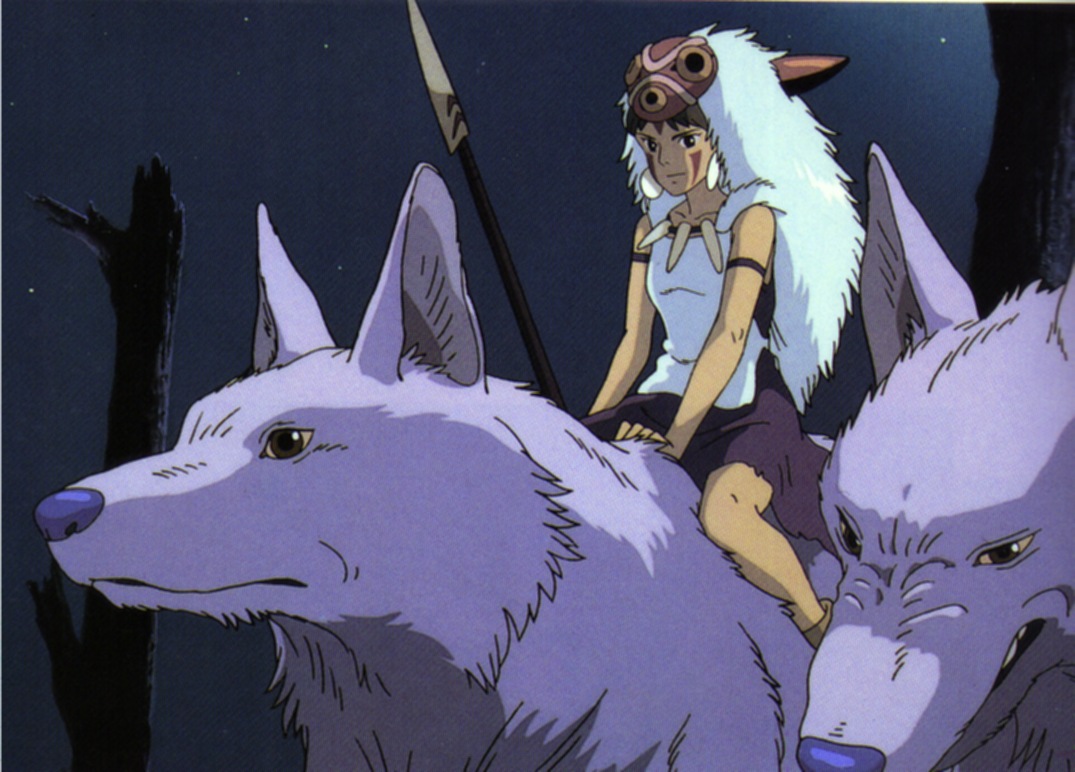
| Mononoke04.jpg | Illustration of San riding Moro no Kimi (or one of Moro no Ko) in the Forest of the Gods. |
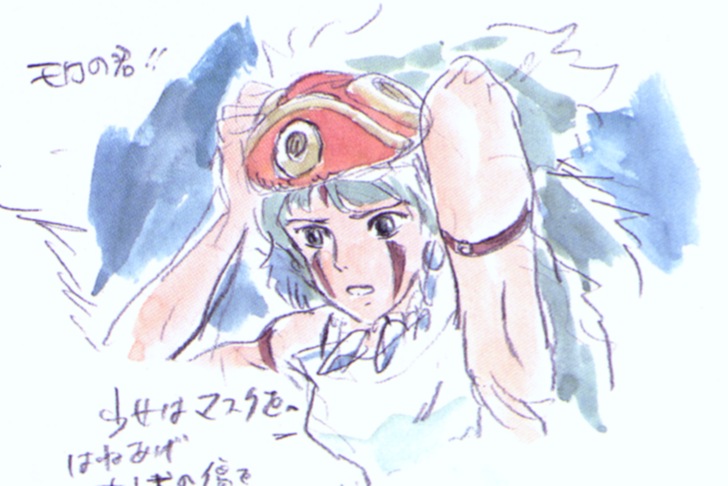
| Mononoke05.jpg | Illustration of San pulling off her mask. |
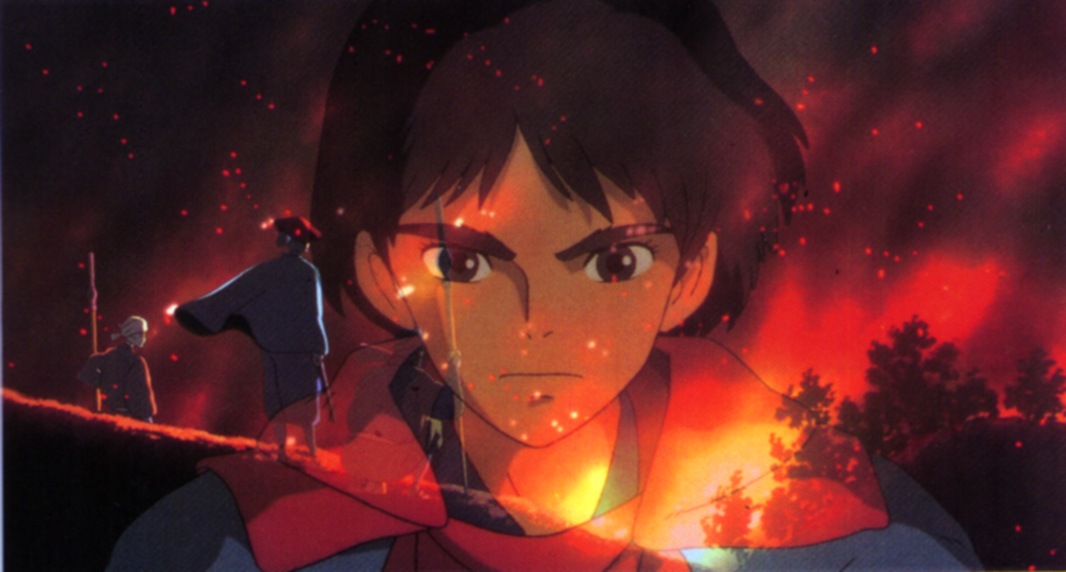
| Mononoke06.jpg | Transparent Ashitaka with Eboshi Gozen in the background. |
| Mononoke07.jpg | Illustration of Ashitaka and the Kodamatachi. |
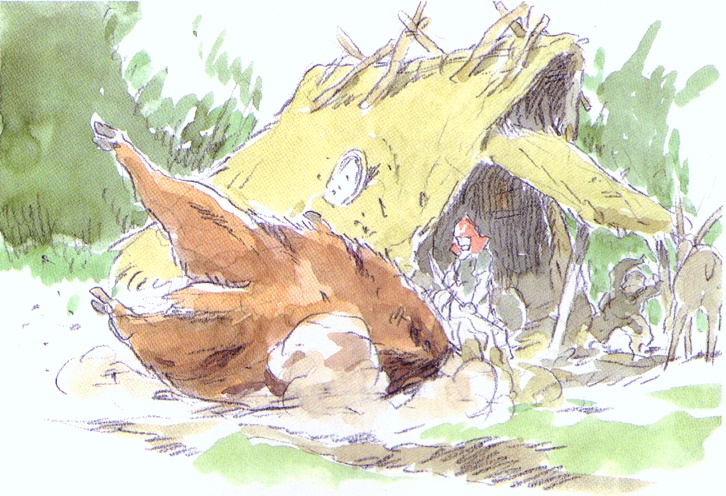
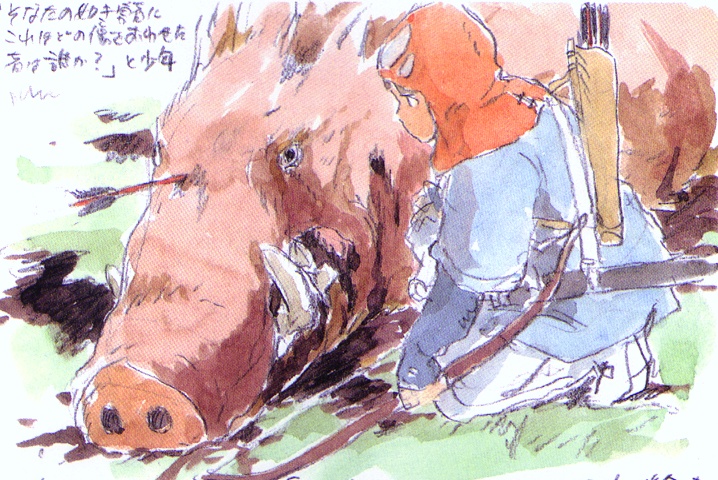
| Mononoke08.jpg | Illustration of Ashitaka by the dead Nago no Kami. |
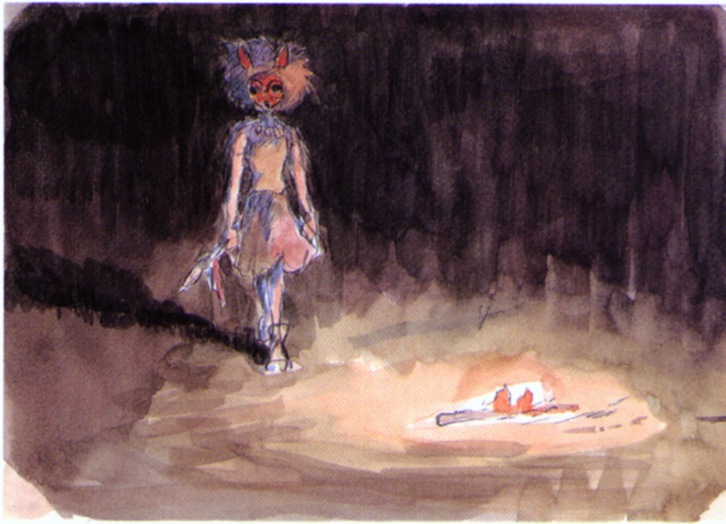
| Mononoke09.jpg | Illustration of San with mask and spear by a fire. |
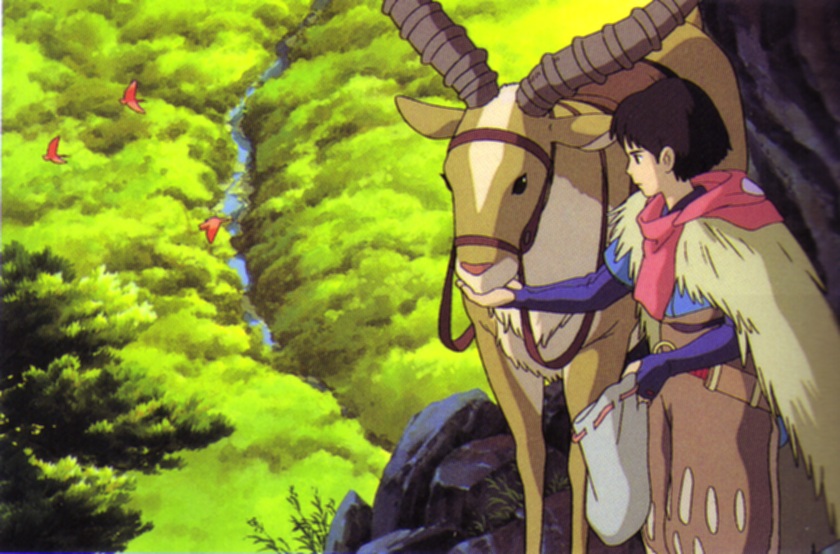
| Mononoke10.jpg | Ashitaka and Yakkul on a cliff. |
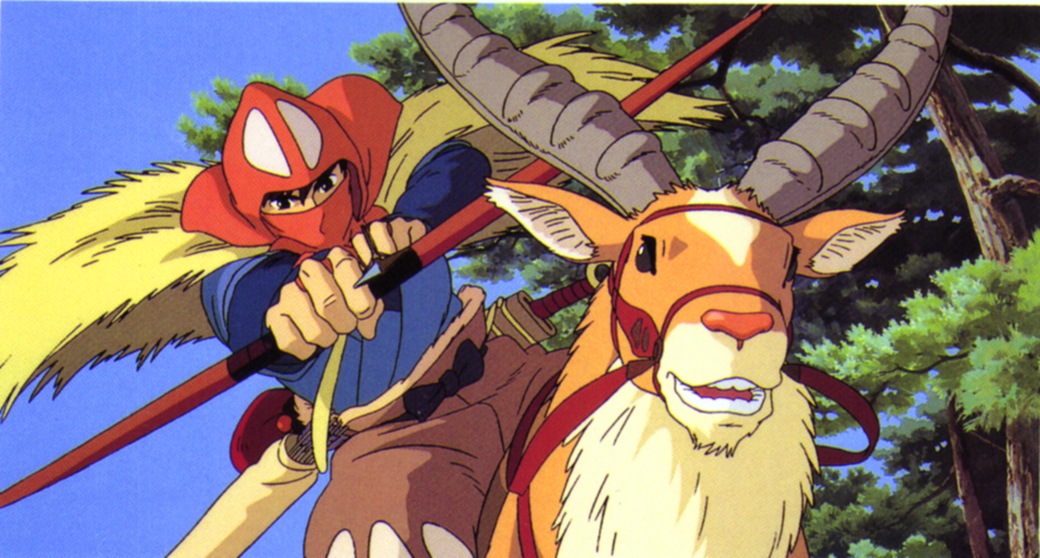
| Mononoke11.jpg | Ashitaka on Yakkul with a bow and arrow. |
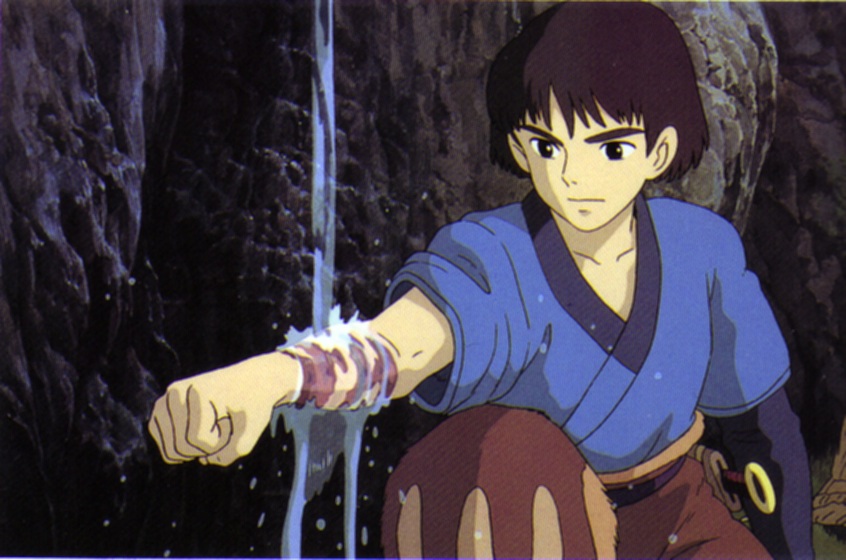
| Mononoke12.jpg | Ashitaka rinsing his arm in a small waterfall. |
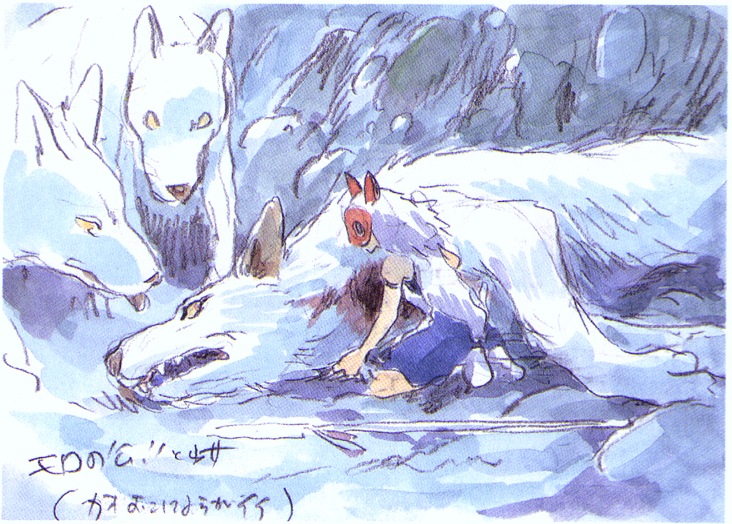
| Mononoke13.jpg | Illustration of San kneeling by (the dead?) Moro no Kimi with Moro no Ko. |
| Mononoke14.jpg | San in fighting stance. |
| Mononoke15.jpg | San on one of Moro no Ko before assaulting Tatara. |
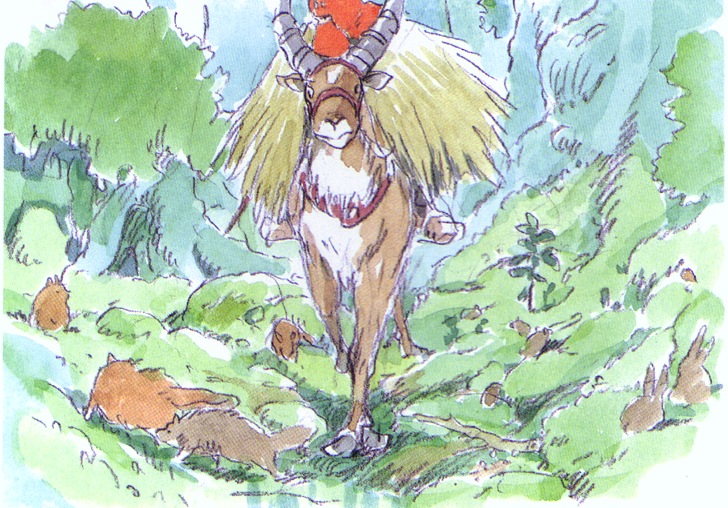
| Mononoke16.jpg | Illustration of Yakkul. |
| Mononoke17.jpg | Nago no Kami. |
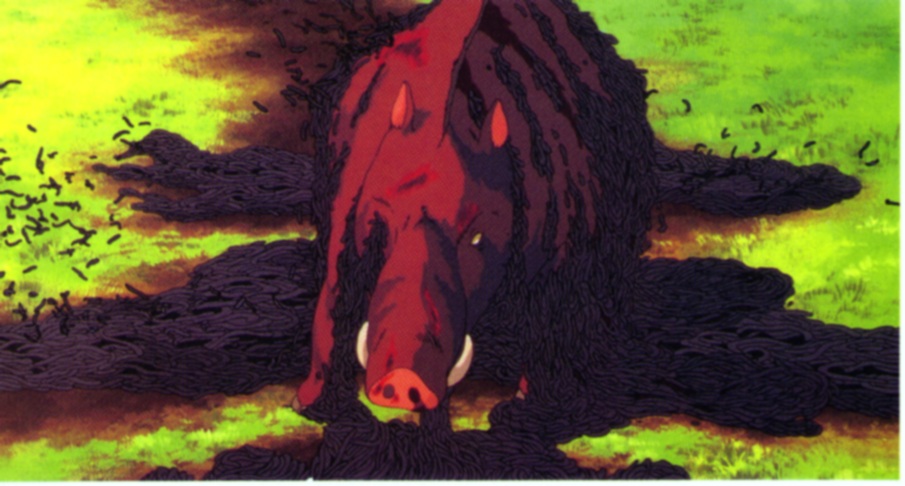
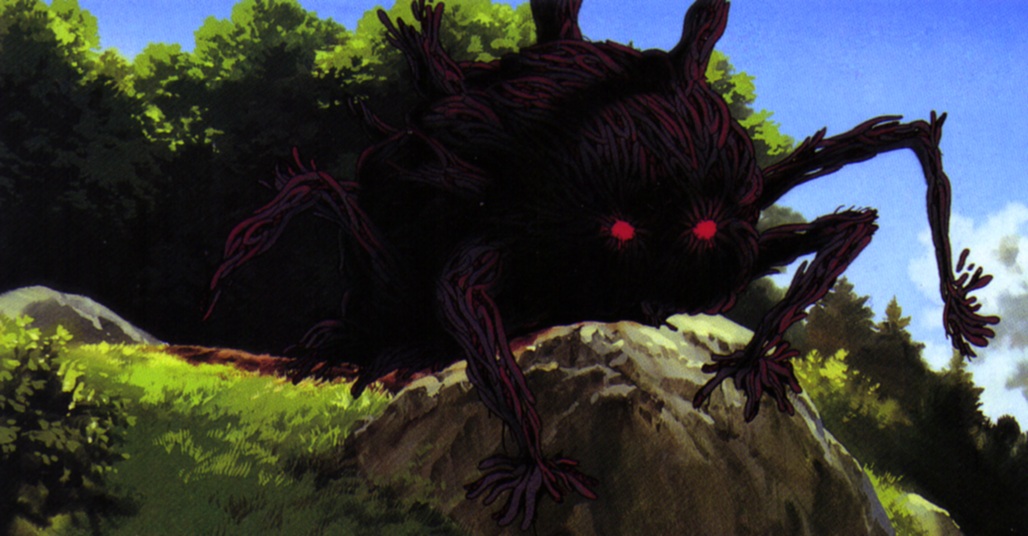
| Mononoke18.jpg | The Tatarigami (Nago no Kami) coming out of the woods. |
| Mononoke19.jpg | Illustration of Ashitaka before leaving his villiage. |
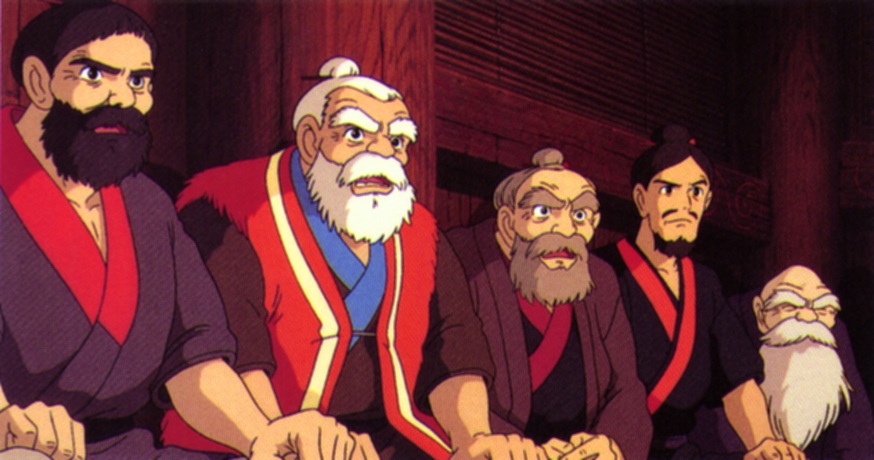
| Mononoke20.jpg | Council in Ashitaka's Villiage. |
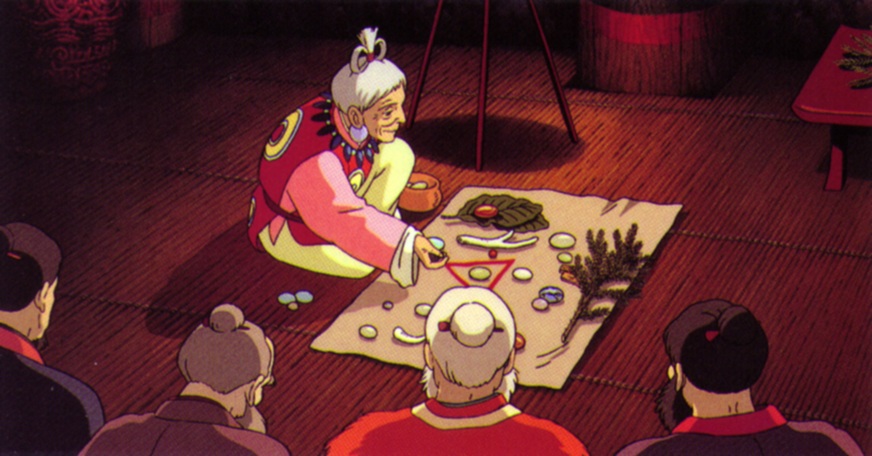
| Mononoke21.jpg | Hii Sama and the Stones. |
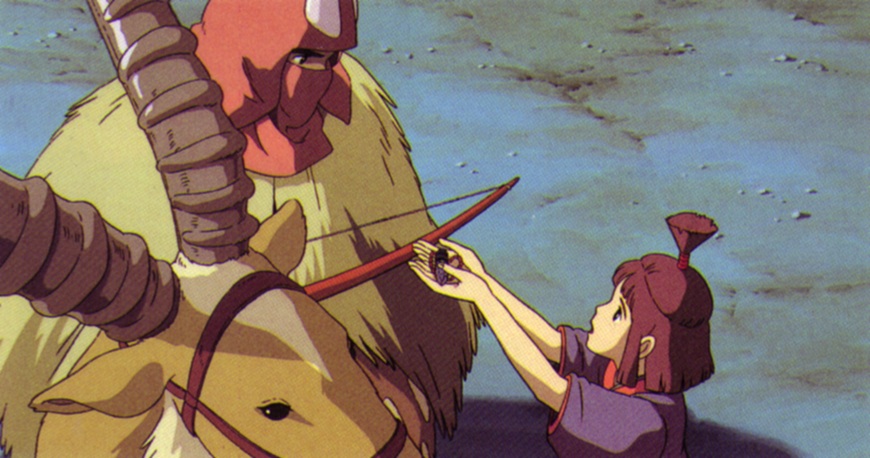
| Mononoke22.jpg | Kaya giving Ashitaka the stone blade. |
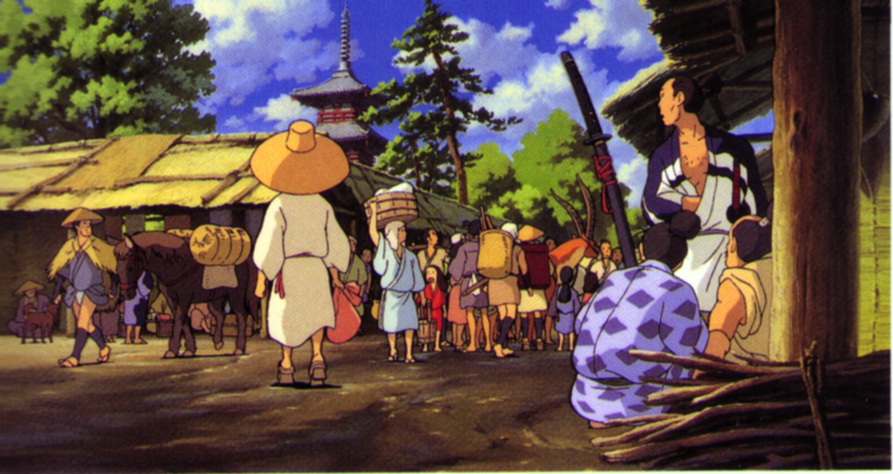
| Mononoke23.jpg | Villiage Scene. |
| Mononoke24.jpg | Villiage people. |
| Mononoke25.jpg | San laughing with Moro no Kimi (or one of Moro no Ko). |
[ Main Gallery ][ Desktop Gallery ][ Trailer Gallery ][ Characters ][ Story ][ Media ][ Poem ]